Category Archives: DIY

DIY Dollar Tree Sticker Organizer

Hello my wonderful friends!

I love my planner, I love decorating it, writing down my schedule for the week and I also love adding my adorable stickers, washi and more to my planner.   When I sit down to plan for the week, I like to have my planner supply on hand and ready for use. I used to have my stickers in a binder and that worked for a small time but I found myself not placing my stickers back in the binder.  I just never liked it, it wasn’t for me.  I didn’t like that my stickers would fly out of the page protectors or the fact that to keep them in place I had to use my paper clips.

So I went to work designing a planner organizational system that would work for me (for the time being).  I upcycled an old frozen pizza box I had for some time and decided to design my planner organization.

Below is a video I made sharing my step by step instruction for the Sticker Organizer:

I hope this inspires you to create an organizational system for your planner sticker supplies!  If you do create an organizer I would love to see it on Instagram (and cheer you on!) make sure to use the hashtag #hipncreative or tag me @hipncreative.  Thank you so much for stopping by! Until next time guys I hope you have a wonderful day!

XO,
Awilda

DIY Moana Inspired Boat and Oar (prop)

So today I’m sharing my third Moana Inspired birthday project; my DIY Moana Boat and Oar.  If you haven’t seen my other two Moana party decor/props you can check it out here and here.

We wanted to create a  prop for the family to take fun photos with the kids. This project was a bit time consuming but the end result was well worth it.

What you’ll need (for the boat)…

  • Long Cardboard box
  • glue
  • brown paper roll (From Homes Depot – used for flooring)
  • tape
  • red paint (optional -craft store)
  • box cutter
  • white fabric (for the sail)

Continue reading

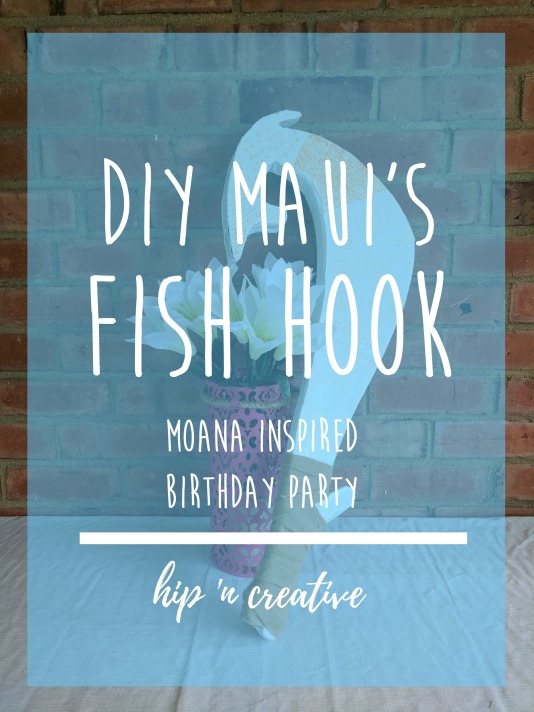
DIY Moana Inspired Maui Fish Hook

I’m back with another tutorial for you guys.  Like I mentioned before we previously celebrated my daughter’s 10th birthday (you can find the tutorial here).  The party was Moana themed – which is one of our favorite movies so far.  We decided to make our own Maui Fish hook.  I’m very proud of my girl because she did the majority of the project herself and I think she did a phenomenal job!

What you’ll need…

  • White foam board (Dollar Tree)
  • carboard
  • Brown Marker or paint
  • Glue Gun and sticks
  • white painters tape (dollar tree)
  • White paint (found at craft stores)
  • Tan felt fabric

Continue reading

How to Add Custom Vent Covers to Sliding Doors | Repurposing an old Door

Hi guys!  Today I wanted to share with you our recent re-purposing project.  When we first bought our house, 3 years ago (can you believe it?) we wanted to make some changes to our living room.  One of the changes was to update and add lighting since there was non previously (See my awesome hubby adding lighting in picture below).  We also sanded the floors and shined them all up real purdy like too. We removed wall paper and painted the walls, which looks awesome by the way ;).

How to add vent covers to old doors | hipncreative.wordpress.com

I had this idea to change the look of our old doors by removing the old slats and adding some awesome metal vent covers to the doors to give them a modern look.  So after discussing it with the hubs, we figured out a way to do just that.

So here is our step by step tutorial on how to add vent covers to sliding doors:

Materials you will need:

  • Metal Vent Covers (I found mine at Home Depot)
  • Wood filler
  • Window trim
  • small square wooden dowels
  • paint of your choosing (to paint wood doors) *optional
  • Spray paint (to paint vent cover) *optional

What you will need on hand:

  • Jigsaw
  • flat surface to work with
  • time and patience (lots and lots)
  • nail gun and finishing nails (Home Depot)
  • lots and lots of patience!

First thing we did was remove the sliding doors from the doorway and very carefully cut the slats out leaving the door frame intact.  Next my husband filled the holes where the slats were with wood filler.

While the wood filler was drying, he measured, cut and spray painted the metal vent covers (we used Rustoleum white paint).  After letting the wood filler completely dry (it took about 30 minutes), he carefully sanded all the doors until they were smooth.

Next he framed the front of the door with window trim, this will help the metal vent covers stay in place so it won’t pop out.  Next using a nail gun, we nailed the vent covers to the door.  We also added a small wooden dowels to the back of the doors.  This helped to hide the nails as well as provided extra back support for the metal vent covers not to slip out when opening and closing the doors.

Once we were happy with how the doors looks and works, we primed and painted the door.  We wanted to keep the doors white so priming and painting was pretty easy.  Once the paint dried, we replaced the doors back in it’s frame and done.  I have to admit this project was not an easy project and if your not that skills with air pressured machinery, this project is not for you.  It’s time consuming and you need a lot of patience as well as some carpentry knowledge.

I thank God my hubby is very talented and we were able to get this sucker done.  I really couldn’t have done this without his help.  Until next time my friends!

**UPDATE: A year later and our door is perfect!  Even though it was A LOT of work, it was so worth it!  My husband and I are still  in love with this project and are proud we DIYed this makeover, our first of many projects!

Awilda https://www.hipncreative.wordpress.com


UPCYCLE REPURPOSE POPCORN TIN | hip ‘n creative

What’s up guys!  Today I wanted to share a super simple and super cute Up-cycle project using popcorn tins.  I had this tin since the holidays and finally got around to making it into a really cute container.  Below is the video showing you exactly what I did to makeover the popcorn tin.

Have you subscribed to Hipncreative Youtube channel?  If not, what are you waiting for!  Head on over and subscribe so you don’t miss a post!

Thanks for stopping by, I’ll see you on the next post!

xo,
Awilda